
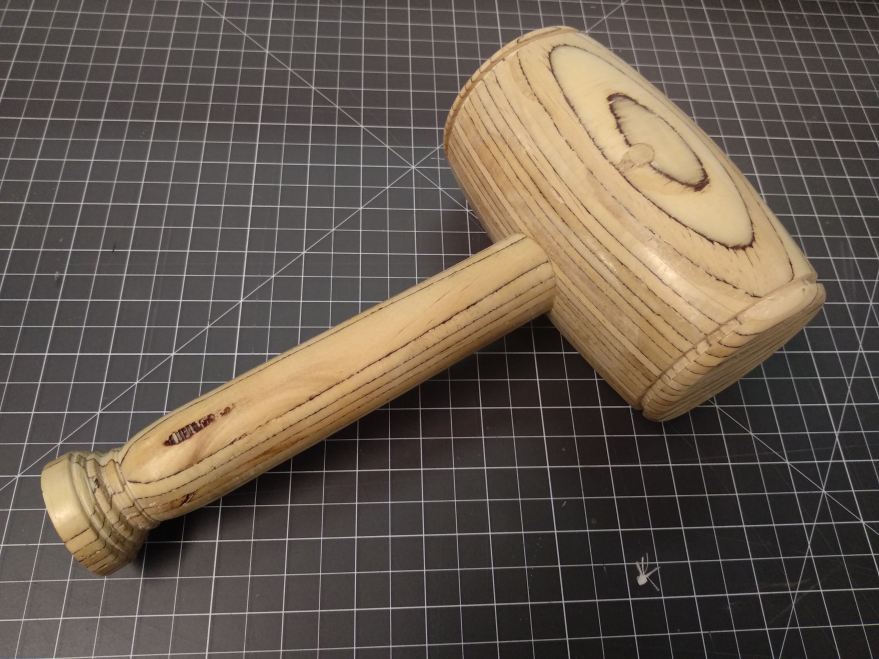
For this week’s assignment, I made a mallet on the wood lathe.
The first step was to glue up plywood pieces and make blanks. I used scrap plywood and as I’d soon find out, this was a very bad choice.


I started with the head of the mallet. The first step was to round the blanks. I used a round nose tool and sharpened it often. For the most part, the process went smoothly, but a few big chunks of wood did separate from the ply and hit the face mask. This is why you wear a face mask, people!! And this is also why we don’t use the cheapest ply on a lathe.


The stock was much larger than needed so I cut out a smaller piece with the parting tool. I shaped the work free hand.


The mallet head needs three holes, one to accept the handle and two smaller holes to accept pins which would retain the handle. The holes should be centered and that’s why we need this drill jig. I tried to make the jig out of plywood a few times, but a single plywood piece turned out to be too difficult to work. The tool tended to bite into it and stopped the piece from rotating. I tried cutting the piece beforehand to shape it roughly and reduce the material needing to be removed. But it would splinter at the chuck or just break at the tool. I finally used a small stock of soft pinewood instead.


With the the jig in place, I indexed the lathe and drilled the holes. For the handle, I chose 1.25″ spade bit.


The handle was shaped freehand out of plywood as well. I had to remove the handle from the lathe to check the fit to the head often. A few times the handle got removed from the lathe while turning. I think this was because I tightened the tail only before starting the lathe. When I started the lathe and used the tool, the torque would make the chuck bite into the wood more, and that would loosen the work at the tail. I had better results when I tightened the work one more time after starting the lathe and stopping it again.


After turning the handle, it was just a matter of gluing up the handle, drilling holes to hold the pins and gluing the pins in.


A quick buffing session later, the mallet is ready!


