Designing a Business Card

As a first step to designing a business card, I made a map of adjectives that best describe me. Here is the mind map that resulted:

map

The common theme that is relevant to a business card is my self-identification as a maker. Since I have a broad set of skills in electronics, carpentry, design.. a title such as creative technologist seems too constrictive. So I decided early on not to include any title.

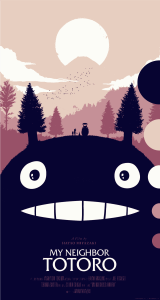
I looked through my desk drawer for business cards and found a few samples to draw inspiration from. I particularly liked the simplicity of ny sci business cards. The portrait orientation makes it stand out and the watermarks give a pleasant second read without being too distracting on the first read. Inspired by this, I decided to adopt a portrait orientation and watermarks suggesting my skills. I got a lot of icons for tools, electronics, art and code to use as watermarks from The Noun Project.


fontSelection
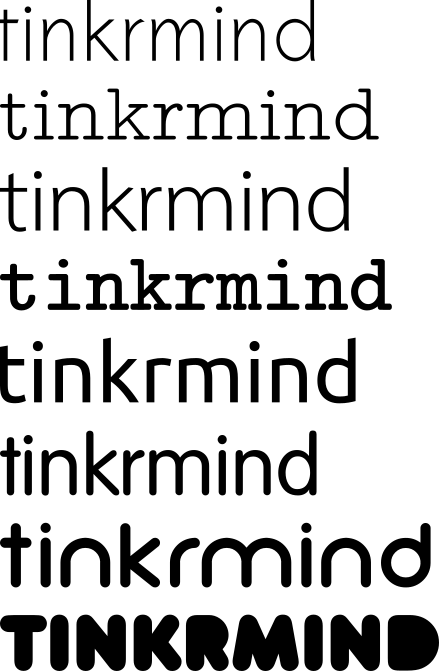
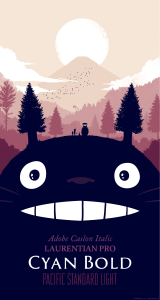
I experimented with a lot of styles and combinations on my name and handle (tinkrmind) on paper, before looking for fonts online. I decided to go with ‘Sawasdee’ for the contact information. It is a compact font, which renders will for the portrait orientation. The fact that it is open source is just a cherry on top. For my handle and name I decided to go with ‘Neon 80s’. It is a playful and bold font in contrast to ‘Sawasdee’.


I wanted to develop a logo for my handle as a part of this project. I wanted the logo to represent both art and tech. I made the following two logos. I finally decided to go with the cog and brain logo since I think that the wrench and paintbrush look too much like a construction company logo.


Since I generally rely heaving on grids, I took it as a challenge to work without a grid and go with intuition composing this project. I settled on a fairly simple design, with a symmetrial composition for the back.


Colors

Experimenting with changing color palette of an image:

The technique: I converted the image into 5 color palette using the imageMode tool in GIMP(~photoshop) and the used the alien filter to change the palette until I found something interesting.

I used these colors as an inspiration to get the palette below.

Selection_004

I made the following compositions with this palette in Processing – original image files and source code on github:

I really enjoyed changing the palette of the leaf image above, so I made a tool in p5.js to convert any image into my palette. (code on github and alpha editor) Here are some interesting compositions that resulted from playing around with this code:

Boarding pass redesign

You know how when you get your boarding pass the teller highlights the boarding time and the gate? The fact that they have to do it is a testament to the abysmal design of boarding passes.

Through this assignment, I got interested in the design history of boarding passes. Turns out, the machine-readable component of boarding passes is regulated by the International Air Transport Association (IATA). But, as far as I can tell, there is no regulation on the human-readable elements. So, the only reason that we have these awful boarding passes is that some engineer who was only interested in the boarding pass barcodes made up a template for boarding passes which has been followed out of inertia since. Here’s an example from the ‘Recommended BCBP document layout‘:

Selection_001
An example template from IATA. Notice how the only point of concern is the dimension of the barcode.

Why then are we still suffering from awful boarding passes like this:

Selection_002.png

Here is an attempt to redesign this monstrosity:

new_boarding_pass.png

Font used: Bitstream sans

Side note: If you’re interested in what information is contained in the barcode on the boarding pass, it’s easily decoded with a simple app. It is PDF417 format data-matrix code and contains mostly the same information as typed on the pass. But it can contain a lot more information as well, including the sequence number and frequent flyer number. More details in the IATA implementation guide.

Signange

Good signage

One of the guiding principles of good design is functionality. When pertaining to signage, one of the most important features of functionality is visibility. The following examples show examples of signage that are visible from afar.

I love this example of wayfinding in Imaginarium a 3D printing facility in Mumbai, India. The different departments are color-coded and lines on the floor lead visitors directly to their destination. I love how the lines go all the way up the doors and end in markers that jut out of the door, marking the end of the line.

Bad signage

Signs at Port Authority bus terminal are very inconsistent in marking the ticketing locations. There are plenty of signs marking the gates, but the signs seem to include ticketing windows only occasionally. There is a distinct lack of directions to ticketing booths at the key decision points, of which there are plenty thanks to the boxy nature of the building. What’s worse, on the second floor of the south wing of the terminal, there is only a single sign marking that the ticketing booths are on the first floor. It is a poorly accessible sign right in front of the escalator going down.

This problem can easily be fixed by including markers for ticketing in the existing signage, as in the image below.

Fixed signage.png

If one wants to take a look at bad signage one does not need to go far from Port Authority it seems. Right in front of the ticketing booths, there are signs pointing to gates 1-34 along the length of a 150 meter long corridor. The gates are arranged in an orderly fashion on the lower floor, but on the upper floor, there is no mention of which escalator should be taken for which gate. I was led on a sprint through the terminal only to end up right under where I started after about a 250m dash.

Further notes on Port Authority signs: Sign design throughout the terminal is consistent and simple. They use Arial font and simple icons, most of which are available for free on the noun project. The color scheme of green for streets and subways, black on yellow for gates and ticketing, and yellow on black for restrooms, information, police etc. is consistent throughout the terminal. Except for the lack of signage at places and ill-advised placement of some signs, I really like this system.


Design Analysis

I selected a poster of the movie ‘My Neighbor Totoro‘ by artist Olly Moss. I think the poster does justice to the classic, capturing the essence of the movie in playful colors.

Original files on my github.

Cropped_Poster

Process:

GRID :

  • Lay out in gimp image editing software.
  • The color of the grid lines should be selected to contrast with all colors in the image.

COLORS :

  • Change the image mode to five indexed colors, letting gimp select the colors itself.
  • Identify the percentage cover of each color with the histogram tool in gimp.
  • Export the indexed image into InkScape.
  • Selecting the color using the eyedropper tool, make circles of area proportional to percentage cover of each color.
  • Align the circles to the right of the image.
  • Export the image along with the semicircles.

FONTS:

  • Open the image in InkScape.
  • Crop sections of image with each individual font.
  • Identify the font using WhatTheFont.
  • Use MyFonts to get sample text for each font (if the font is not free).
  • Grab the image samples and import them in InkScape.
  • Trace bitmap to get manipulatable vectors for the image.
  • Change the color and size of the vector to match the image context.
  • Export image from InkScape.